Using ZloyRouter
Running the Program:
Open the terminal and execute the command:
sudo ./zloyrouter
Wi-Fi Setup
After selecting the system language, we move on to setting up the Wi-Fi Hot-Spot.
In the main menu, go to the "WiFi/Eth" section.
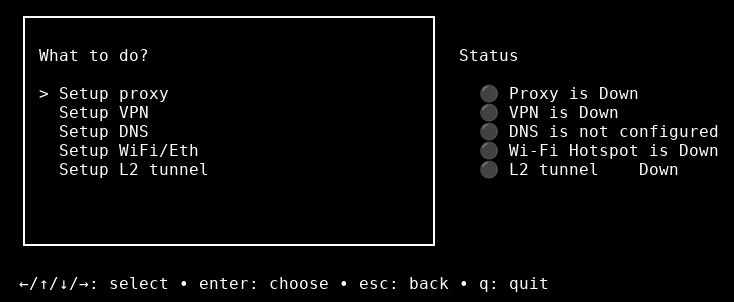
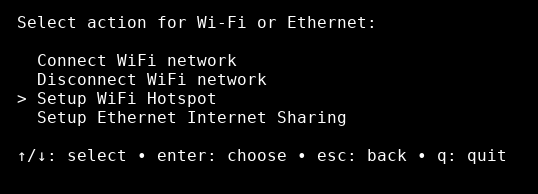
Select the "Setup WiFi Hotspot" option.
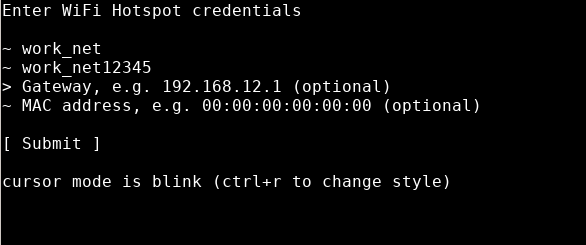
You will be prompted to enter:
- Wi-Fi network name (SSID).
- Wi-Fi password (at least 8 characters).
- (Optional) Network interface, gateway, MAC address. If not specified, the program will select them automatically.
Additionally, ZloyRouter allows you to manage the local network during distribution (Wi-Fi Hotspot / Sharing) by configuring:
- Gateway — the starting point of the local network and, consequently, the subnet where client devices will reside.
- And DHCP will automatically assign addresses to connected devices within the selected network.
Below, as an example, is a network configuration setup where the 192.168.2.* subnet is redefined and hardcoded.
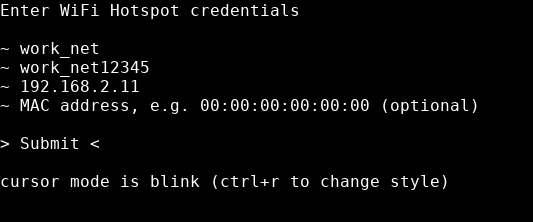
This setting is optional, but you can use it if necessary.
Save the settings by pressing Submit / Сохранить.
Result: you get a manageable LAN environment that can be standardized for your tasks and scaled across multiple devices/testbenches.
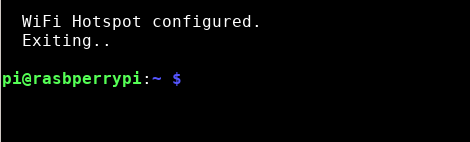
After the Wi-Fi hotspot has successfully launched, you can connect to this Wi-Fi network from other devices (phone, laptop, etc.) using the network name and password you specified.
L2 Tunnel Setup
A feature necessary to access blocked resources. If there are no blocks or restrictions in your country of residence, using the L2 tunnel is not required.
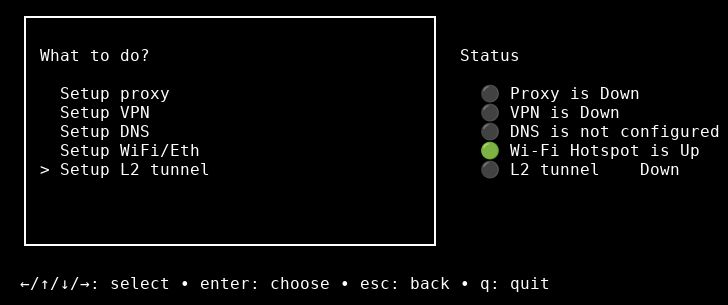
In the program's main menu, select "L2 Tunnel".
Next, select one of the available profiles to launch the tunnel.
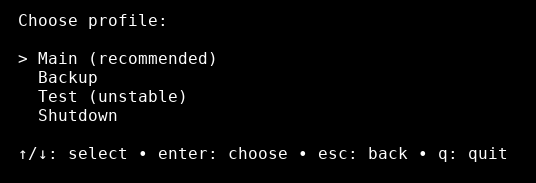
If you need to stop a previously launched tunnel, select the corresponding option ("Stop L2 tunnel").
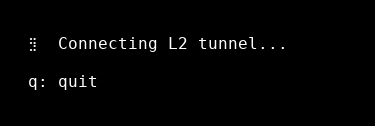
The L2 tunnel will begin launching:
For the L2 tunnel to work, your VPN/Proxies or any other bypass methods must be turned off.
Proxy Setup
Connecting a SOCKS proxy
In the main menu, select "Proxy".

You will be prompted to enter the URL of your SOCKS proxy, for example: socks5://username:password@127.0.0.1:1080
ZloyRouter features smart proxy recognition (Smart Paste), meaning you can paste your proxy into the Router in any convenient format:
socks5://ip:port:user:pass
socks4://user:pass@ip:port
https://ip:port|user:pass
etc.
The Router will automatically recognise where the username and password are!
VPN Setup
Instruction: How to Upload an OVPN file to Raspberry Pi via FileZilla
This step-by-step guide explains how to copy an OpenVPN configuration file (with an .ovpn extension) from your computer to the Raspberry Pi using the FileZilla program.
Preparation
Before you begin, ensure you have:
- A configured Raspberry Pi: The device must be connected to your local network (via cable or Wi-Fi).
- Raspberry Pi connection details: IP address (e.g., 192.168.1.105) or network name (raspberrypi.local).
- Username (default is pi).
- Password that you set during the initial OS installation.
- An .ovpn file: Your VPN configuration file, saved on your computer.
- A computer connected to the same local network as the Raspberry Pi.
Installing FileZilla on Your Computer
FileZilla is a free FTP client that supports secure connections via SFTP (SSH File Transfer Protocol), which is ideal for working with a Raspberry Pi.
Download the installer: Go to the official website: https://filezilla-project.org/ (Select your OS) or download it from the App Store.
Click on the "Download FileZilla Client" button (NOT Server).
Install the program: Run the downloaded file and follow the installation wizard's instructions.
Connecting to the Raspberry Pi
Open FileZilla. At the top of the window, you will see the "Quickconnect" bar.
Fill in the connection fields:
Host: Enter the IP address of your Raspberry Pi or its name (raspberrypi.local).
Username: Enter your username (default is pi).
Password: Enter your Raspberry Pi password.
Port: Enter 22 (this is the standard port for SFTP).
Example: Host: 192.168.1.105 | Username: pi | Password: •••••••• | Port: 22
Click "Quickconnect".
Accept the host key: If this is your first time connecting, a warning window about an unknown host key will appear. This is normal. Check the box "Always trust this host, add this key to the cache" and click "OK".
Attention!
If you experience difficulties at this stage, refer to the official FileZilla usage instructions.
Copying the .ovpn File
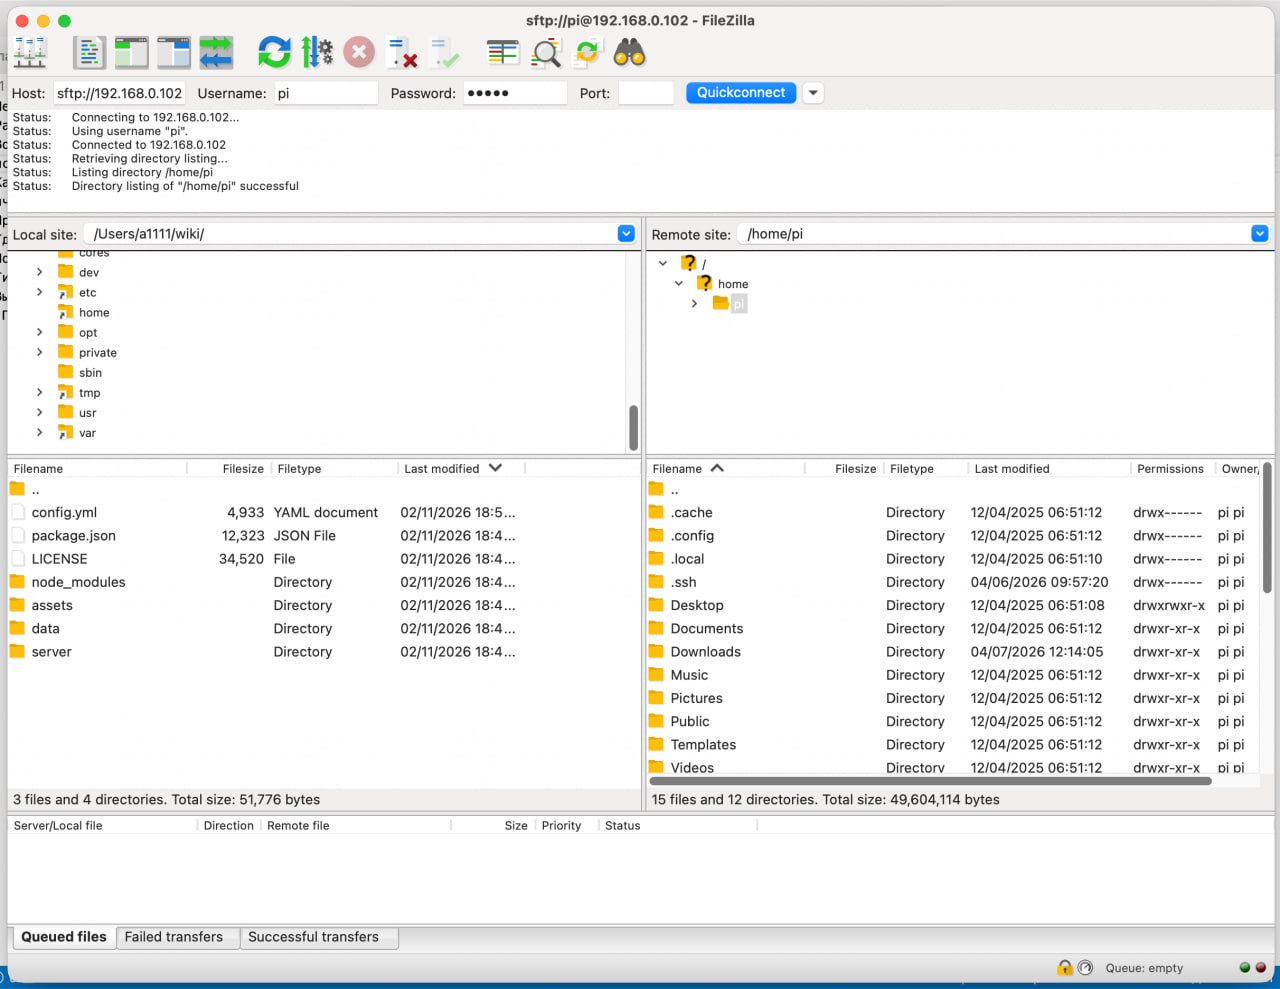
After a successful connection, the program window will split into two parts:
* Left (Local Site): Your computer's file system.
* Right (Remote Site / Raspberry Pi): Your Raspberry Pi's file system.
- Find your OVPN file: In the left pane, navigate to the folder on your computer where the
.ovpnfile is located. - Select the destination on the Raspberry Pi: In the right pane, your user's home directory will open (for example,
/home/pi). This is a convenient place to store configuration files (the same place where the ZloyRouter binary is located). If you changed the username, the folder will be:/home/YourUsername. - Drag and drop the file: Click on the
.ovpnfile in the left pane, hold the mouse button, and drag it to the right pane. Release the mouse button. - Verify the result: At the bottom of the FileZilla window, there is a file transfer log. Ensure your file appears in the "Successful transfers" tab. You should also see it in the file list in the right pane.
Done! Your.ovpnfile has been successfully uploaded to the Raspberry Pi and is ready for further configuration and use in ZloyRouter.
Connecting the OVPN Config via ZloyRouter
- Run ZloyRouter (if it's not already running):
sudo ./zloyrouter - Go to the VPN section: In the main menu, select the VPN option.
- Select OpenVPN: In the VPN menu, select OVPN.
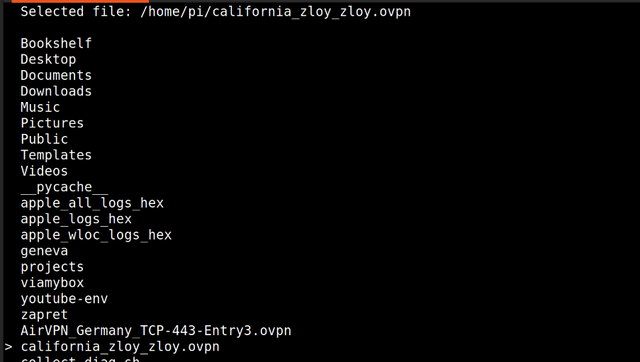
- Specify the path to the file:
- The file manager will open. Navigate to the folder where you uploaded the OVPN config (e.g.,
/home/pi). - Find your
.ovpnfile and select it by pressing ENTER. - The path to the selected file will appear in the
Selected ...line. - Start the connection: Press CTRL+C, and ZloyRouter will start connecting to the VPN using the selected config.
- Wait for the connection: ZloyRouter will display the connection status. The process may take a few seconds.
Done! Your Raspberry Pi is now connected to the VPN via OpenVPN.
Viewing Status and Exiting the Program
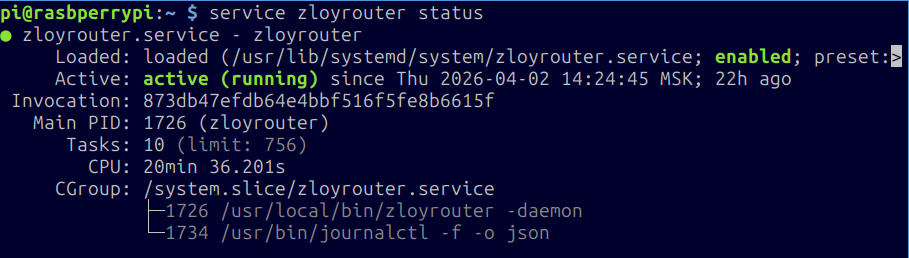
ZloyRouter starts and runs as a Linux system service.
When exiting the configurator (button q), ZloyRouter will continue to run.
You can check the service status with the command sudo service zloyrouter status
If you encounter any issues whilst using the programme, most of them can be resolved by restarting the Raspberry Pi using sudo reboot.
Diagnostics and Troubleshooting
If for some reason the main L2 tunnel fails to start and you see an error message, try launching the Fallback profile (Reserve profile) of the L2 tunnel:
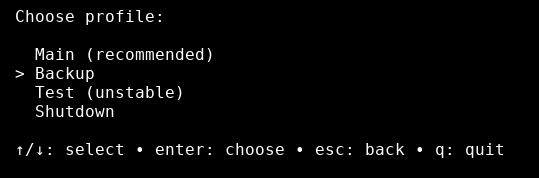
If the fallback profile also doesn't work...

Press ctrl+c, exit the program, collect the logs, and send them to us.
To learn how to quickly and correctly collect software operation logs, refer to the ZloyRouter Diagnostic Log Collection Instructions.